Rig Shark Catch & Cook
A solid rig shark catch and cook session, from beach to kitchen, with a few different cooking methods.
☁️ A Slow Start on an Overcast Morning
I arrived at the beach under heavy cloud cover around 6.30am. A couple of other fishermen had arrived before me, and I had a quick chat with one of them. The water was very discoloured — ideal for rig, but not so good for other desirable species such as gurnard.
Rig (smooth-hound) was my target species, and I had caught paddle crab baits the day before. It’s worth catching them fresh if you can, as freezing them seems to reduce their effectiveness.
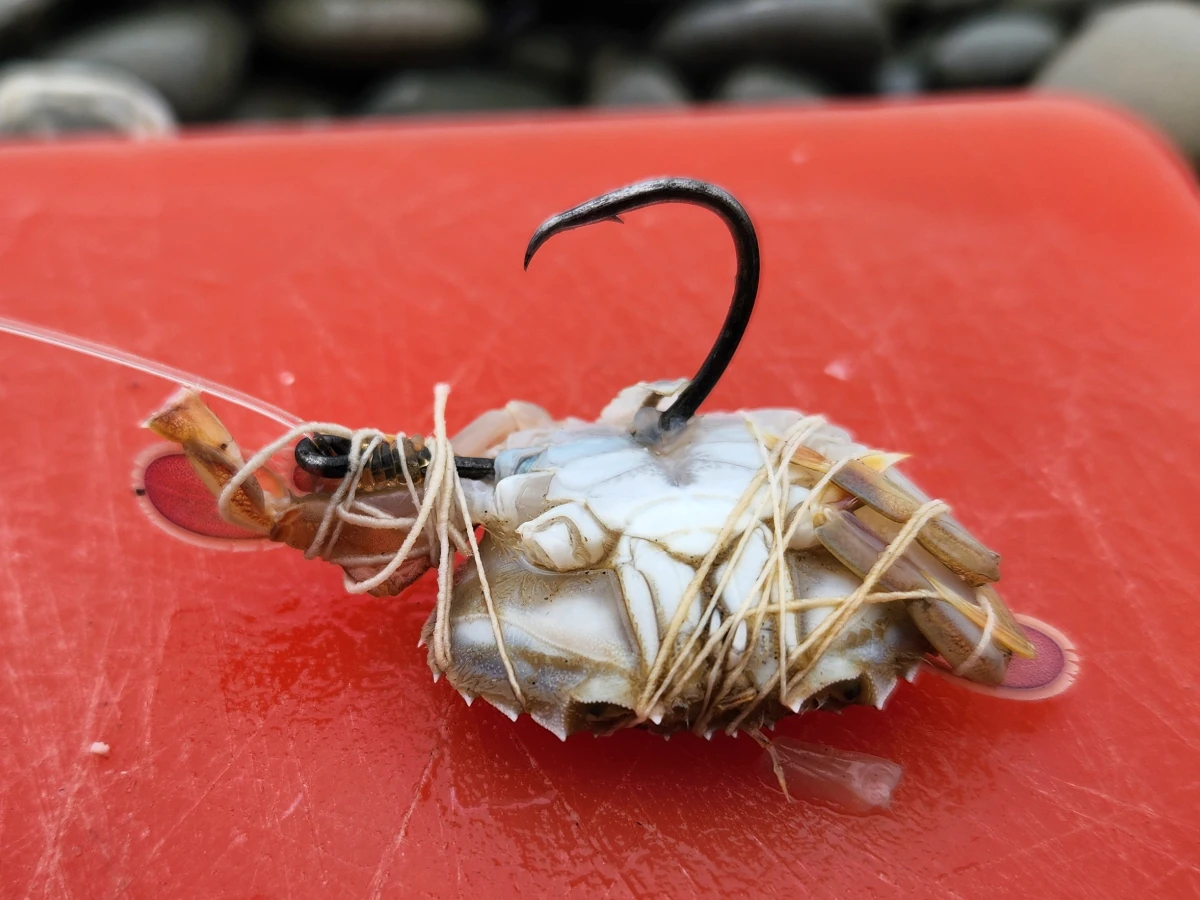
A paddle crab baited up ready to go
I cast out one paddle crab on each rod and, for about 30 minutes, had no action at all. I then decided to add a raw banana prawn as a second bait option on one of the rods. Banana prawn is another really effective bait for rig.
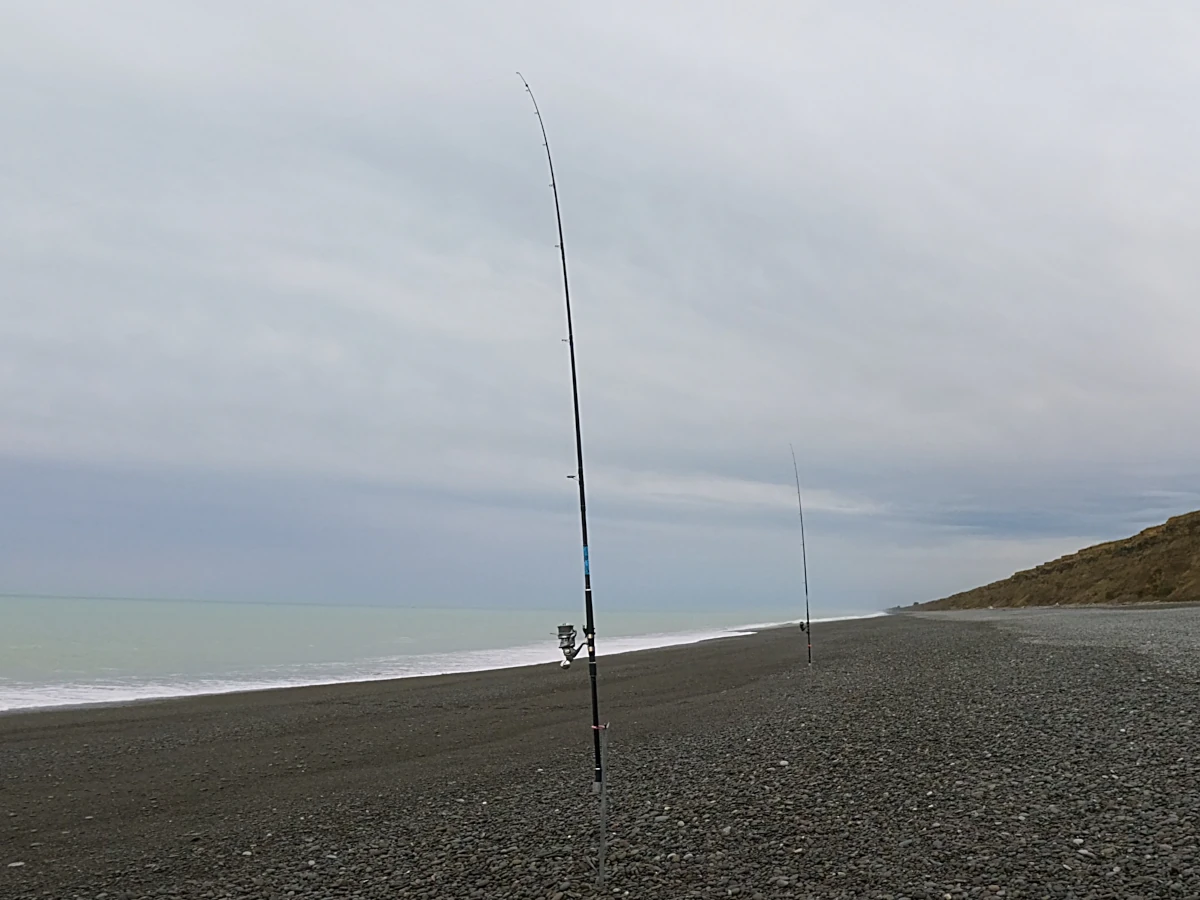
Rods set with paddle crab bait on each
🎣 First Rig of the Morning
About an hour after my first cast, just as I was starting to wonder where the rig were, one of my rods bent over.
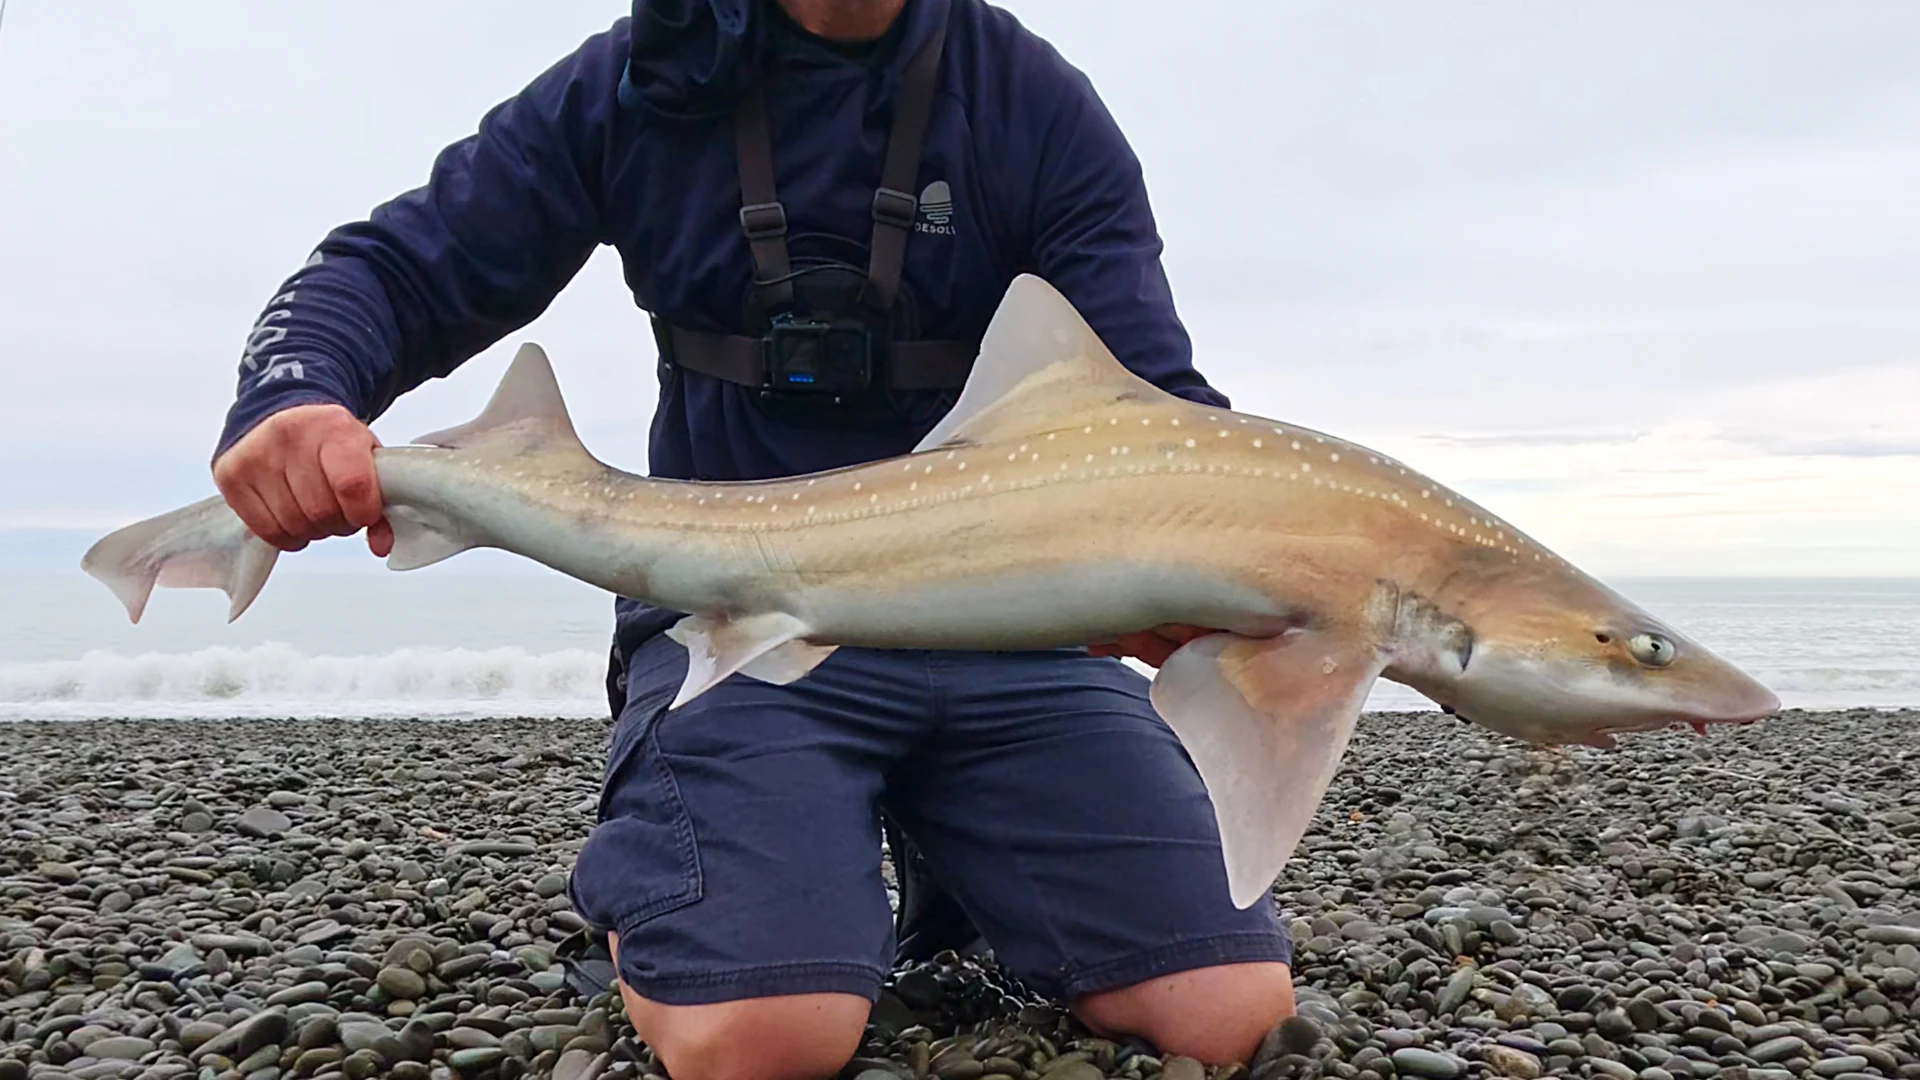
It didn’t take long to realise I had a decent fish on, and I suspected it was a rig. After a bit of a fight, a decent rig appeared from the surf.
I was keen to take some rig home for the table, and I prefer to only take them if they are under 1 metre. There are two main reasons for this:
- The flesh can be a bit tough in bigger fish
- Larger fish contribute more to the breeding population
Suspecting the fish might be around the 1-metre mark, I got out the tape measure and took a rough measurement at 95 cm. I then quickly dispatched the fish, trunked it, washed it, and got it on ice in the catch bag.
First rig of the morning
🌧️ Rain then More Rig
After casting out again, I took the opportunity to send my drone up for the first flight of the morning. But after landing, I soon had to pack it away again when a few spots of rain appeared.
It wasn’t long before another fish took the bait. Soon after the rod loaded up, it felt like the hook had pulled. However, after winding in a bit of slack, I could feel there was still a decent weight on there. I can only assume the fish quickly swam straight towards the shore after I applied some pressure.
This rig was a bit smaller, around 80 cm, which is an ideal eating size in my opinion.
An 80 cm rig shark — a good eating size
Soon after, one of my rods bent over again, and this time the fish felt a bit bigger. Initially it pulled some line before turning and swimming back in. For a while I suspected it might be an elephant fish, as they will often swim straight in after picking up the bait.
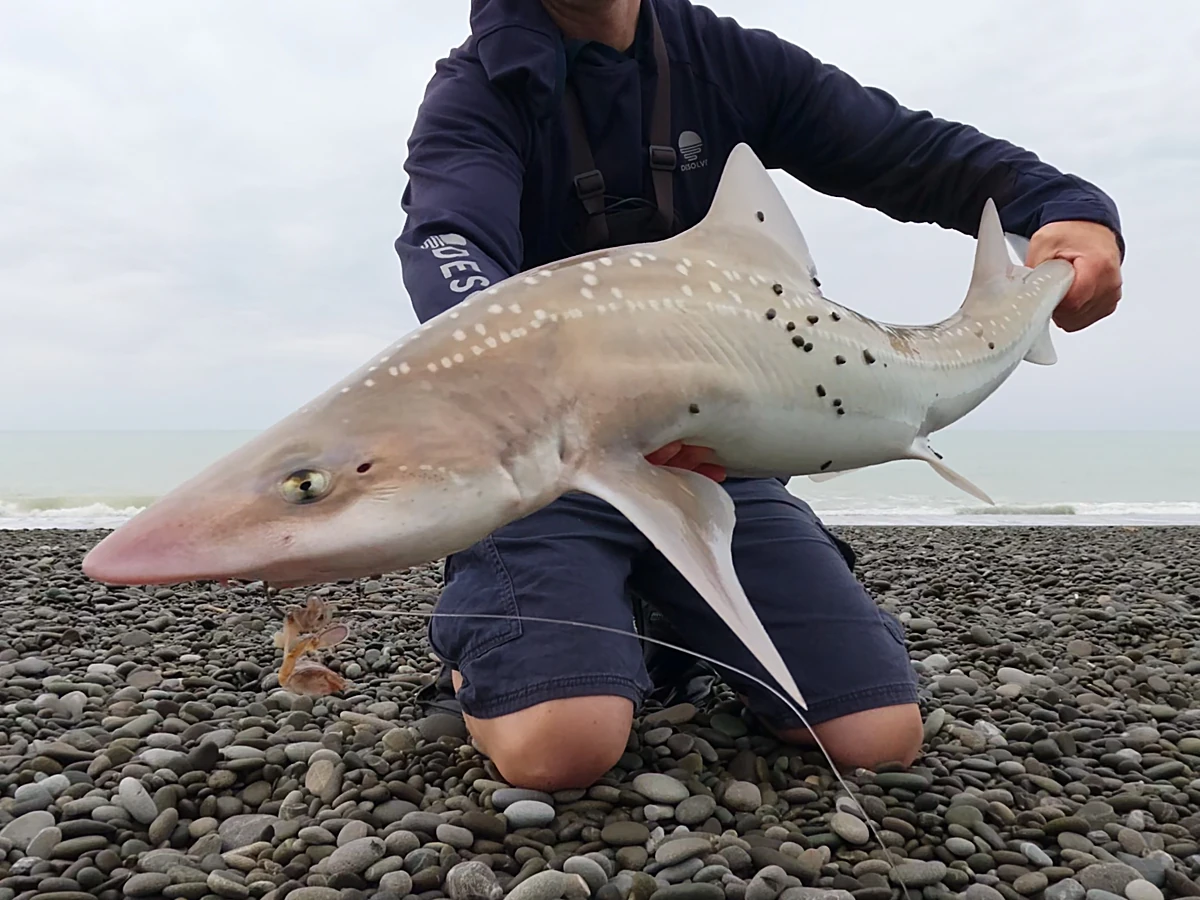
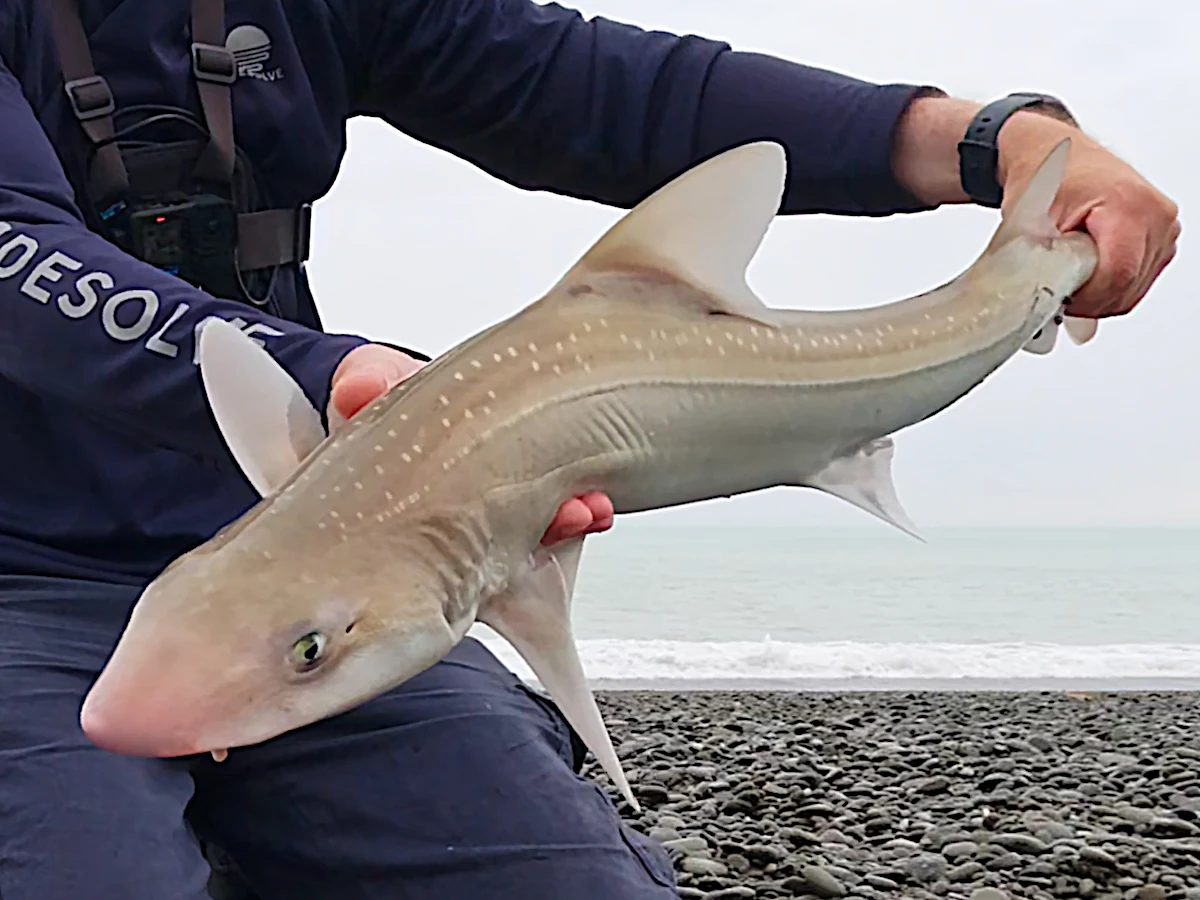
After a solid fight, I could see a decent-sized rig in the waves. With two fish already in the catch bag, I decided to tag this one for Tindale Marine Research.
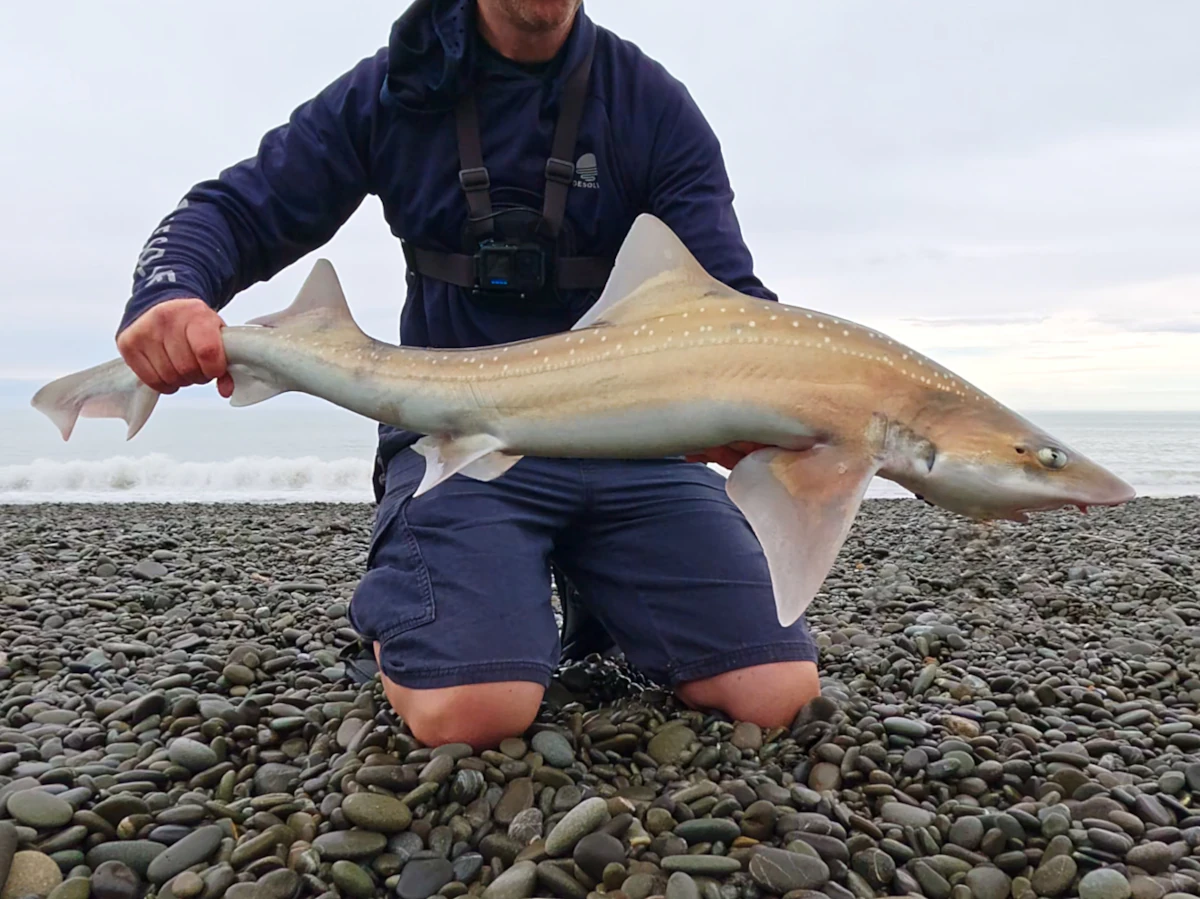
A 99 cm rig shark — striking bronze colours on this one
🌤️ Clear Skies and Bycatch
Later in the morning, the cloud cover cleared and the sea started to clean up a bit. I thought there was a chance of gurnard, so I put out a yellow-eyed mullet bait on a flasher rig.
Unfortunately, all I caught for the rest of the day was spiny dogfish and small school shark bycatch.
Despite the bycatch, it was nice to see the sun come out, and I made the most of the opportunity to get some practice in with my DJI Air 3S drone.

Casting early afternoon
🔪 Rig Shark Filleting and Preparation
Prior to filleting rig, the fish should be trunked (head, guts, and fins removed) and iced. This needs to be done soon after capture while still at the beach.
Filleting is straightforward, as there are no bones to deal with. It’s simply a case of removing the fillets from either side of the cartilage spine, then removing the skin. If you watch the YouTube video for this mission (link below), you’ll get a good idea of how I do it. There are also some good rig filleting videos on other channels, and the process is much the same as for other shark species.
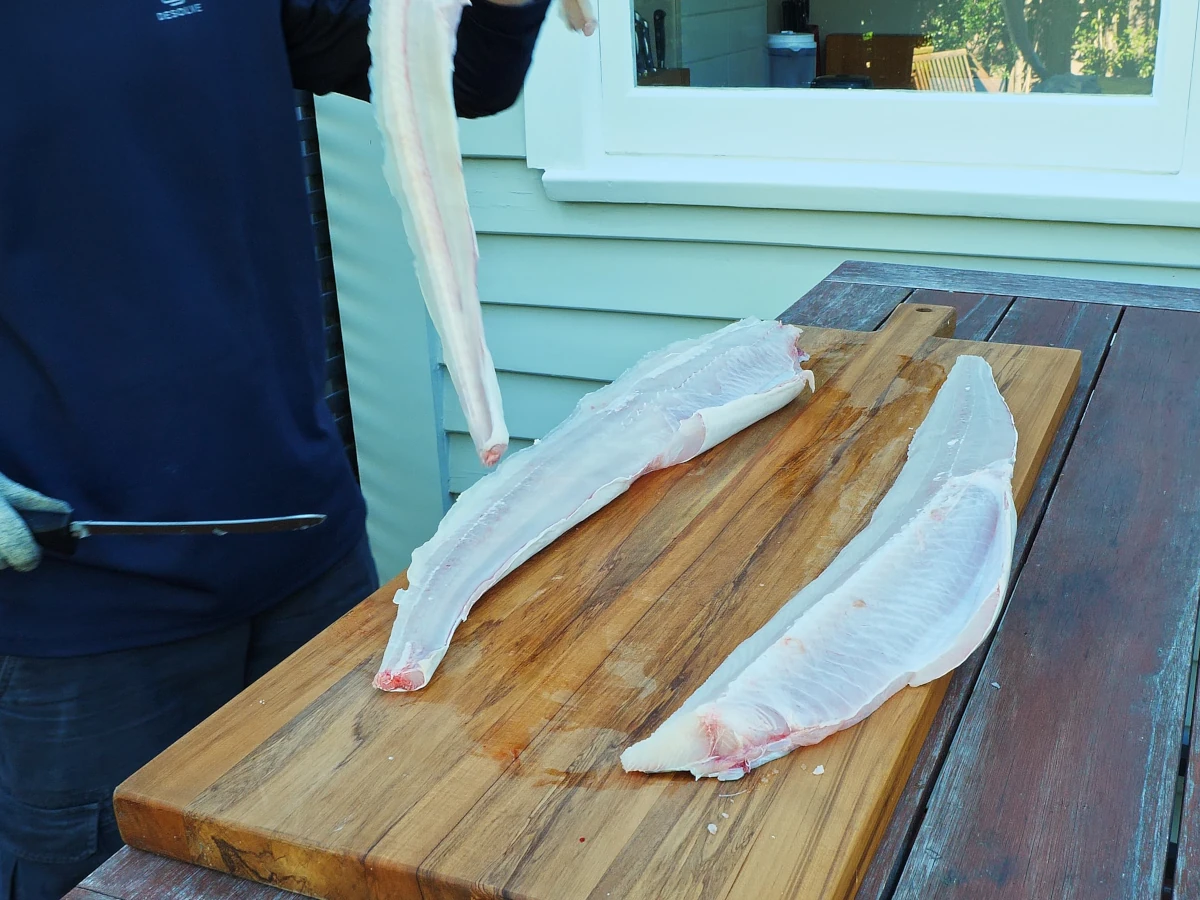
Removing fillets from the cartilage spine
The next step is often a bit controversial. I’m talking about soaking the fillets in a saltwater and vinegar brine. The purpose of this step is to neutralise ammonia and draw urea out of the fillets.
Sharks have urea in their flesh, which breaks down into ammonia after the fish dies. Trunking the fish and keeping it well chilled will slow this process down, but not stop it completely. Ammonia sensitivity is highly individual, and since I’m very sensitive to it, I always soak the fillets.
I prepare the brine using 1 litre of filtered water, 2 tbsp of salt (ideally sea salt), and 1–2 tbsp of white vinegar. After soaking the fillets for 15 to 20 minutes, I’m unable to detect any trace of ammonia.
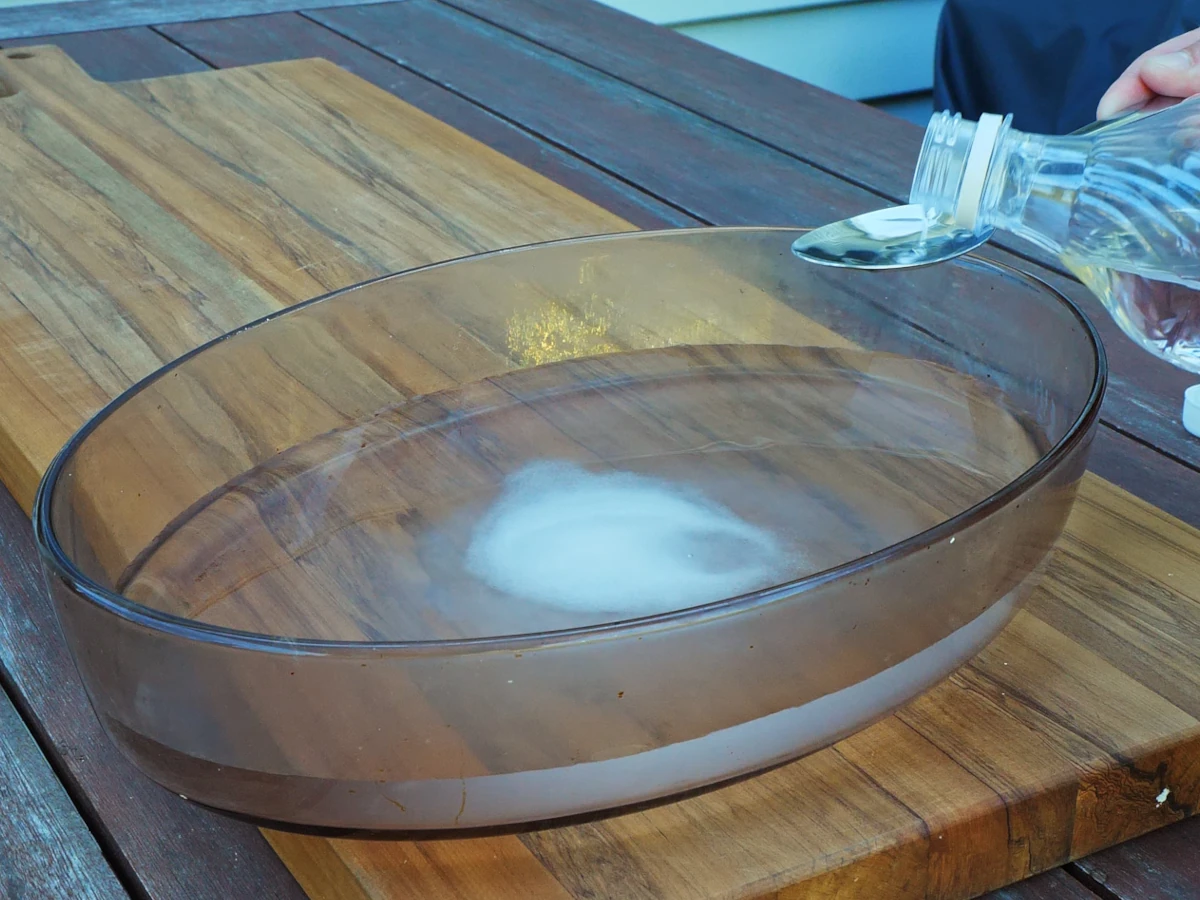
Saltwater and white vinegar brine prep
🍟 Deep Fried Rig
Rig is well suited to deep frying, and it’s a fish and chip shop favourite for this reason.
It’s especially good with a crispy batter. I make the batter using two parts white flour and one part rice flour. I start by sifting the white flour and rice flour together with a pinch of salt.
Next, I add the most important ingredient for a crispy batter — a carbonated liquid such as soda water or beer. Ideally this should be ice cold too, and I’ll usually put a bottle of soda water in the freezer for around 20 minutes beforehand. Another key to a crispy batter is keeping the mixture relatively thin.
I set the deep fryer to 180°C and the timer to 3 or 4 minutes, depending on how thick the fillets are. Coconut oil is my oil of choice, as it has a high smoke point and holds up well over multiple fries. The only slight inconvenience is that it sets solid, which I manage by pouring the hot oil through a filter into a metal dish, then warming it in a sink of hot water before the next fry-up.
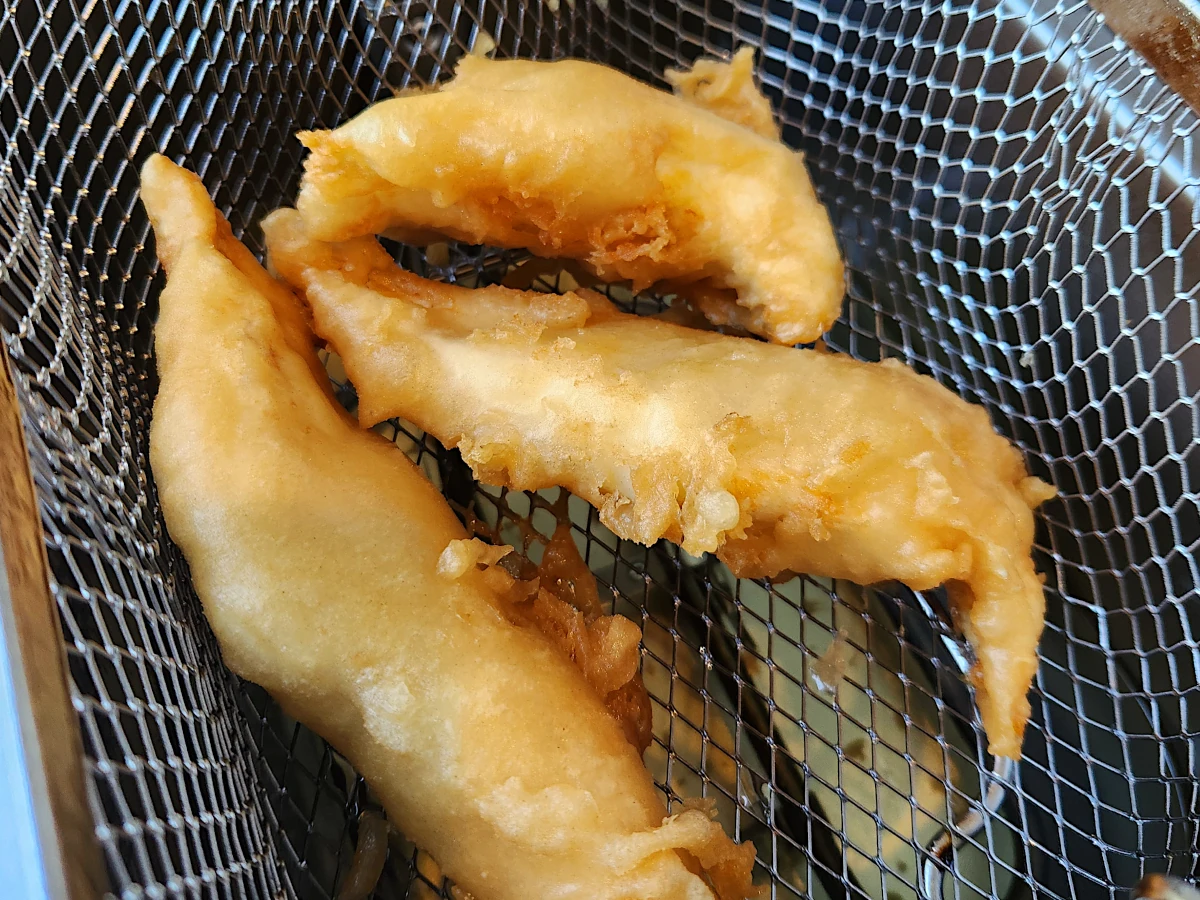
Deep fried rig
🍞 Crumbed Rig
A quick and easy way to cook rig is to crumb it. Simply beat an egg in a bowl, then dust the fillets in flour, dip them in the egg, and coat in breadcrumbs.
Shallow fry in a pan over a medium-high heat until the fish is just cooked through and the crumbs have turned golden. Usually around 3–4 minutes per side is enough.
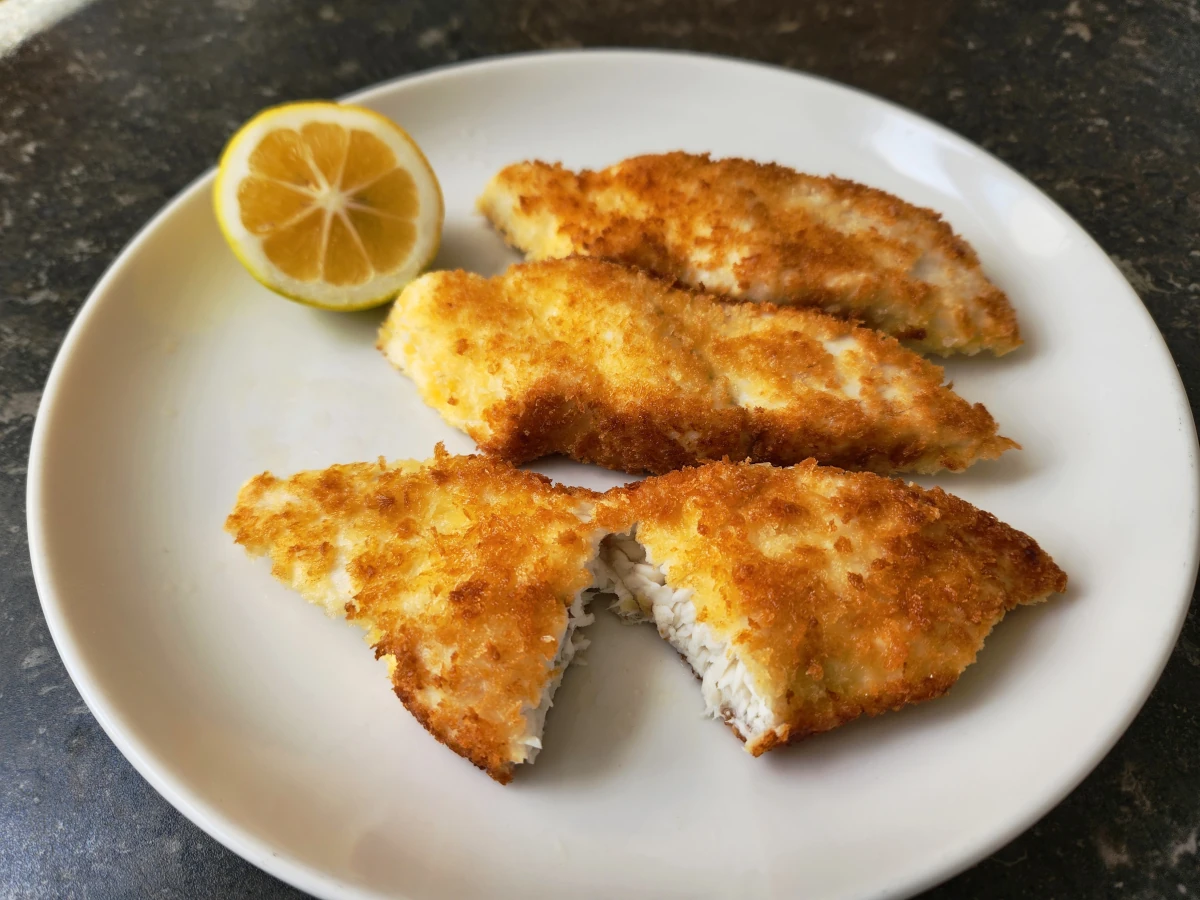
Crumbed rig
🍛 Rig Curry
One of my favourite ways to cook rig is in a curry. It holds up well and doesn’t fall apart like many other types of fish.
Start by cutting the rig into cubes roughly 2–3 cm across. Heat some oil in a saucepan and brown off a large tablespoon of curry paste.
Add a large can of coconut cream, mix it through the curry paste, and bring it up to a simmer. Add the rig and leave it to simmer for around 7 minutes.
While the fish is simmering, you can optionally prepare a garnish. I like to use finely sliced red chillies and chopped coriander. Not only does this add a nice visual appeal, it also gives the curry an extra kick and freshness.
Once the curry has cooked, serve and finish with the garnish. If you haven’t tried a fish curry before, I think you’ll be pleasantly surprised.

Rig curry
For more details on the rig preparation and recipes, please watch the YouTube video for this session.
📓 Field Notes
- Location: Canterbury
- Target species: Rig, gurnard
- Landed: Rig, small school shark, spiny dogfish
- Conditions: Light winds, early rain clearing to blue skies by afternoon, 0.5 m swell, discoloured water
- Tide: Incoming
- Best bait: Fresh paddle crab for rig
- My gear: Shimano Xitus Pro 13'6" rods (x2), Shimano Ultegra CI4+ 14000 XTC reel, Shimano Ultegra XSD 14000 reel
🎥 Watch the Full Video
The full mission is available on my YouTube channel.
Got any feedback or questions? Feel free to drop a comment on any of my social media channels — I read them all.
— Dan